I myself am co-habitating with a junk-food-junkie. My husband is not at all pleased to find servings of vegetables on his dinner plate, but he will suffer through if it means eating his devil dogs and brownie sundaes in peace. We call it compromise.
Truthfully, being the shopper in my household, I am also the supplier of my husband's treasure trove of crap. Most of the time, my determination to limit processed foods and eat for wellness keeps me from temptation. I try to bolster my resolve by purchasing snacks that only my husband enjoys. And yet, I am always highly aware of my "husband's" junk stash. To keep myself from raiding it, I try to keep easy recipes on hand that I can make in a flash to satisfy my cravings.
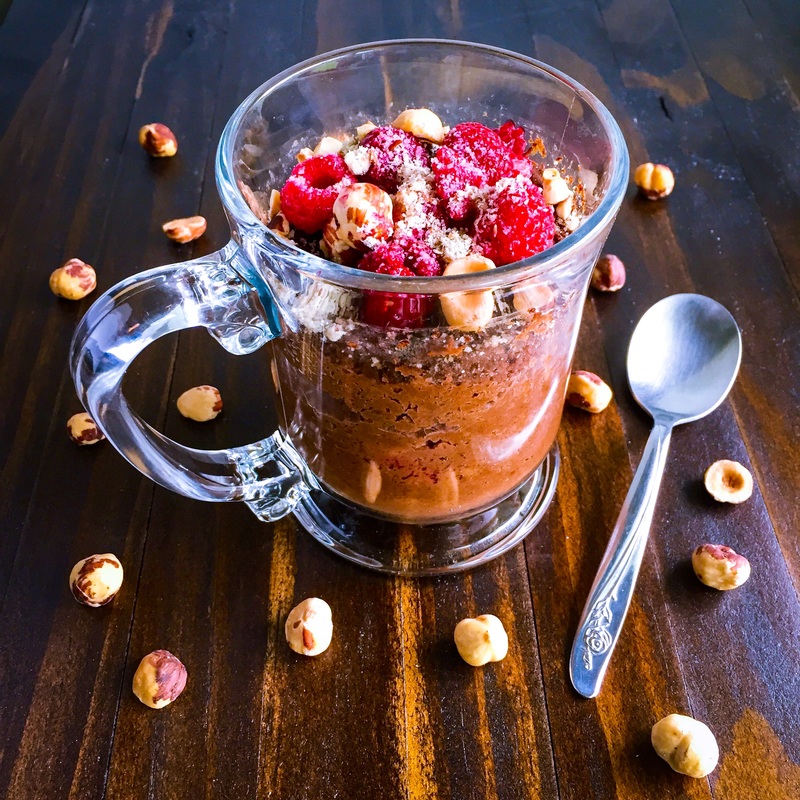
Mug cakes are probably the fastest, easiest homemade baked goods ever invented. What takes a mug cake from ho-hum to decadent is a filling. Particularly a gooey molten variety. This one has a wonderful hot fudgy center surrounded by fluffy chocolate cake. The original recipe did not call for raspberries, but now I cannot imagine this dessert without them.
A bit about microwaves, which are often frowned upon. Microwaves heat liquid foods rapidly from the inside out, which is why it is the perfect oven for a lava mug cake. With this method, the cake will firm up as the center melts - all in under two minutes. According to many studies, the levels of radiation emitted by microwaves are no greater than those from any other appliance, including smartphones and computers. In fact, the greatest risk of contamination comes from using a plastic container in the microwave, not from the appliance itself.
If you have never made this type of dessert, know that mug cakes are best baked one serving at a time. This ensures that the microwaves (powerful radio waves) are evenly distributed, allowing the food to heat properly. When cooked correctly, mug cakes form a kind of sponge cake.
As it cooks the cake will rise. If it threatens to spill over the top of the mug, take it out and let it settle for a few seconds. If the top is not quite set, continue cooking as the recipe calls for. When it is done, the cake should appear spongy. With a little practice, you will figure out how much cook time your particular microwave requires.
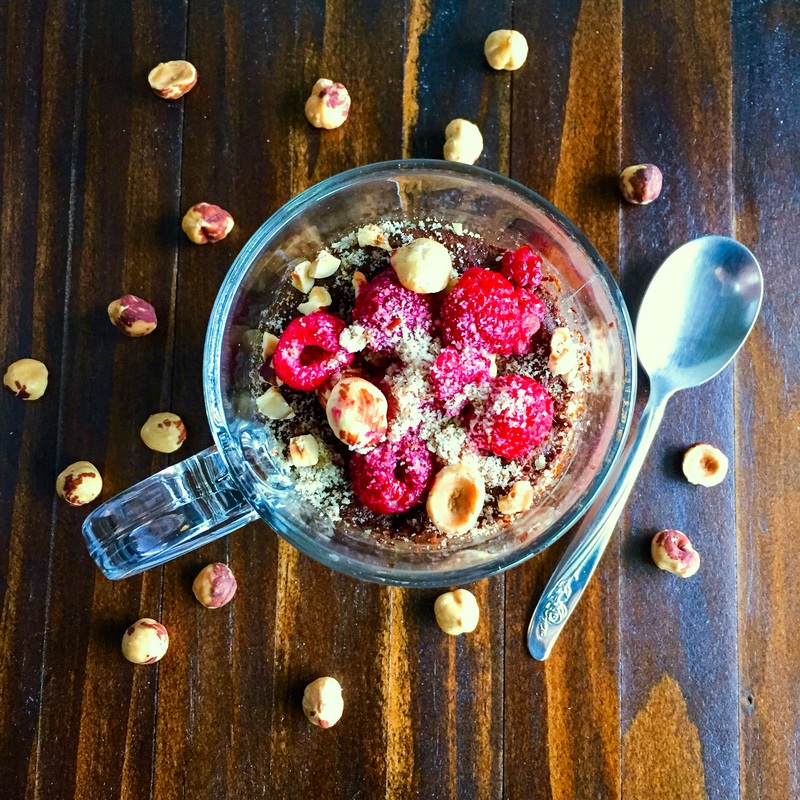
My favorite way to enjoy this recipe is right out of the mug with just a dusting of almond meal, a few raspberries and hazelnuts.
Cake Batter:
1/2 large ripe banana, peeled
1 large egg or 2 egg whites
2 tablespoons oat flour
1 tablespoon unsweetened cocoa powder
1/4 teaspoon baking powder
1/4 teaspoon ground cinnamon
1 teaspoon coconut sugar
1/2 teaspoon almond meal, for garnish
1 tablespoon hazelnuts, for garnish
Filling:
1/2 large ripe banana, peeled
1 tablespoon unsweetened almond milk
1 tablespoon vanilla paste
2 tablespoons semi-sweet chocolate chips
1-2 tablespoons frozen raspberries + 1 tablespoon reserved for garnish
For the cake: in a bowl, mash the banana with a fork. Add the egg and continue mashing until it forms a slightly lumpy batter. Stir in the oat flour, cocoa, baking powder, cinnamon and sugar. Set aside.
To make the filling: in a separate bowl, use a fork to mash the banana with the milk and vanilla paste until it forms a thick, slightly lumpy batter. Fold in the chocolate chips and raspberries.
Pour three quarters of the batter into a microwave safe 16 ounce mug. Then, in the center, add one spoonful of the filling at a time, gently pressing it down into the batter. Continue until all of the filling has been added, then top with the remaining batter. Microwave on high for 90 seconds. If the top has not set into a spongy cake-like texture, continue cooking for another 30-45 seconds. Let stand for 2-3 minutes before serving. Dust with almond meal, crushed hazelnuts and raspberries.
Tip: To make a larger cake, make the following adjustments: for the batter use one whole banana. Then double the oat flour, cocoa powder, baking powder and cinnamon. The extra banana will be enough to maintain the level of sweetness and structure without the need to increase the amount of coconut sugar or eggs. The filling amount does not require any adjustments, simply follow the recipe as written.
Yield: 1 serving


 RSS Feed